Introduction
how to use a cuticle pusher safely, healthy nails start with proper cuticle care. When used correctly, a cuticle pusher helps maintain clean, neat nails without damaging the delicate skin around them. However, improper use can cause irritation, pain, or even infection.
This beginner-friendly guide explains how to use a cuticle pusher safely at home, the different types available, common mistakes to avoid, and how often you should use one for healthy nails.
What Is a Cuticle Pusher?
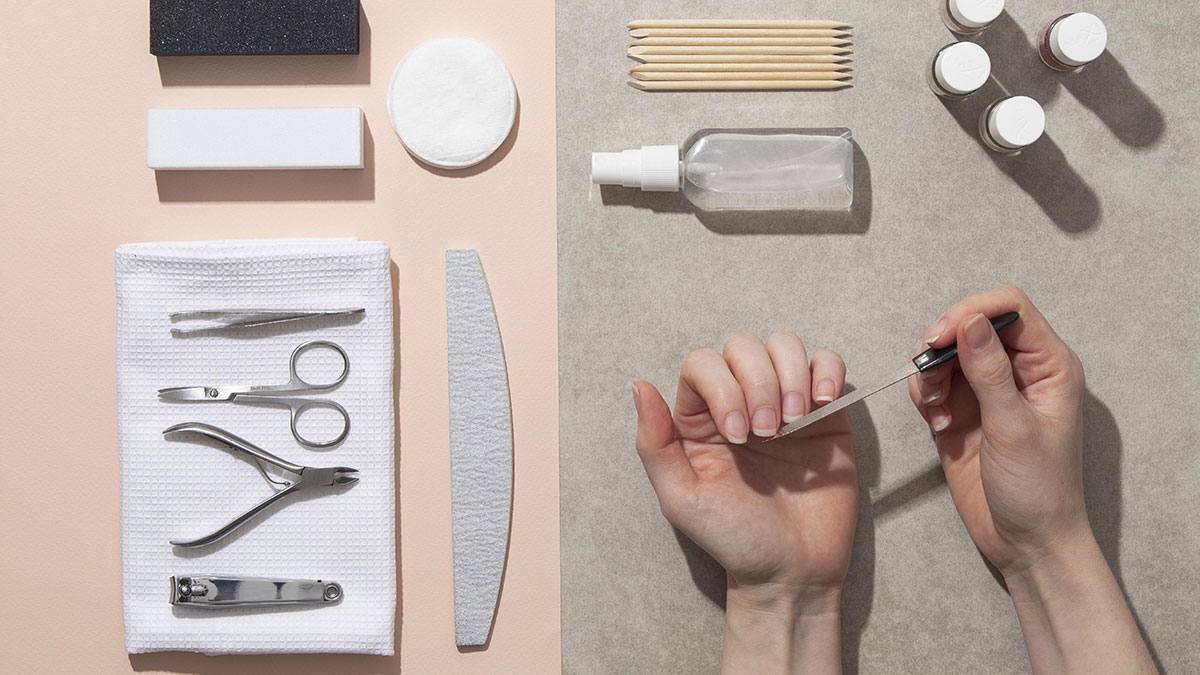
A cuticle pusher is a nail care tool designed to gently push back the cuticles—the thin layer of skin at the base of the nail that protects new nail growth.
Cuticle pushers are commonly made from:
- Stainless steel
- Wood
- Plastic
- Rubber
When used properly, this tool improves nail appearance, creates a clean nail bed, and helps polish apply more smoothly—without cutting or damaging the skin.
Why Proper Cuticle Care Matters
Cuticles act as a natural barrier against bacteria and infection. Instead of removing them, the goal is to gently push back excess growth while keeping the area clean and moisturized.
Correct use supports:
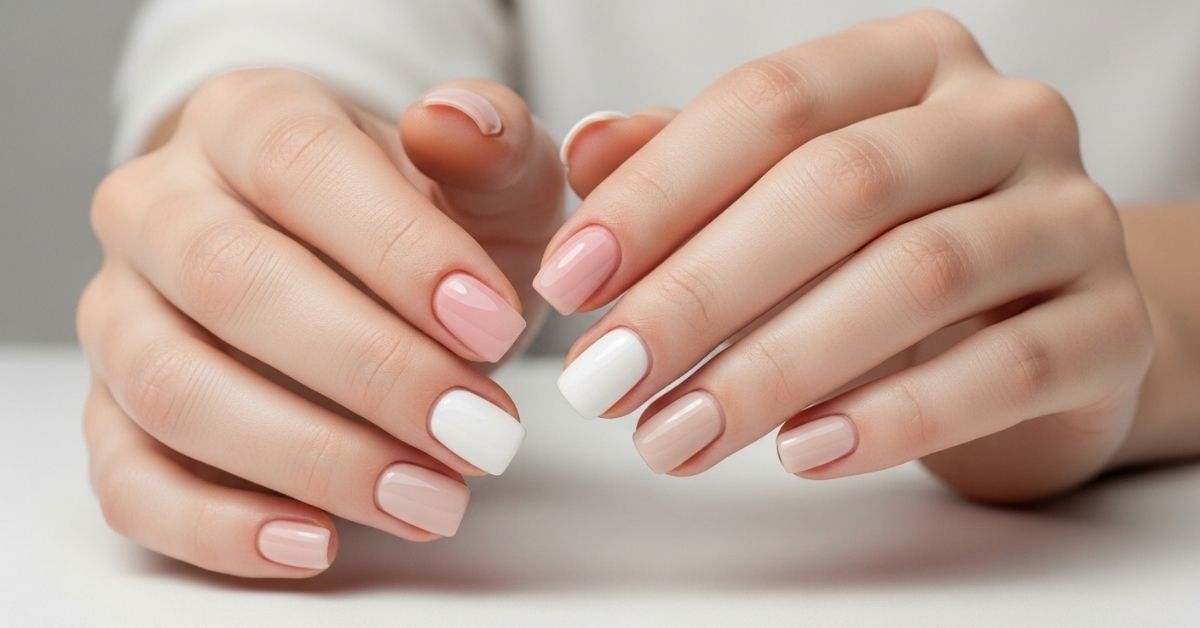
- Healthy nail growth
- Reduced hangnails
- Cleaner nail edges
- Longer-lasting manicures
Types of Cuticle Pushers
Choosing the right tool makes cuticle care safer and easier.
1. Metal Cuticle Pushers
- Durable and precise
- Ideal for detailed nail work
- Best for experienced users
2. Wooden Cuticle Pushers
- Disposable and gentle
- Perfect for home use
- Ideal for sensitive skin
3. Rubber-Tipped Cuticle Pushers
- Soft and flexible
- Beginner-friendly
- Reduces risk of irritation
How to Use a Cuticle Pusher Safely at Home (Step-by-Step)
Step 1: Soak Your Hands
Soak your hands in warm water for 5–10 minutes to soften the cuticles. This prevents tearing and discomfort.
Step 2: Apply Cuticle Oil or Softener
Dry your hands and apply a small amount of cuticle oil or softener to loosen the skin further.
Step 3: Push Back Gently
Hold the cuticle pusher at a slight angle. Using light pressure, gently push the cuticle back from the base of the nail. Never force the skin.
Step 4: Work Slowly
Use smooth, controlled movements. If the skin resists, stop and re-soften the area.
Step 5: Smooth the Nail Bed
Use the rounded end of the tool or a soft buffer to remove dead skin residue. Avoid aggressive scraping.
Step 6: Moisturize Aftercare
Finish by applying cuticle oil or hand cream to restore moisture and protect the skin.
How to Choose the Right Cuticle Pusher
When selecting a cuticle pusher, consider:
Material Quality
Stainless steel tools are durable and easy to sanitize, making them ideal for long-term use.
Comfort & Grip
A non-slip, ergonomic handle gives better control and reduces pressure on delicate skin.
Tool Design
Dual-ended tools offer both pushing and cleaning functions, making them more versatile.
Common Mistakes to Avoid
Avoid these common errors to protect your nails:
- Applying too much pressure
- Using the tool on dry cuticles
- Skipping sanitation
- Pushing aggressively along nail sides
Improper use can lead to redness, soreness, or infection.
How Often Should You Push Back Cuticles?
Once every 1–2 weeks is enough for most people. Overdoing it can weaken the skin and make it sensitive.
Gentle, consistent care is always better than aggressive treatments.
Final Thoughts
Using a cuticle pusher correctly improves nail appearance while keeping your cuticles healthy. With the right technique and tools, safe at-home nail care is easy and effective.